
Going on a garden tour boils down to three extraordinary experiences:
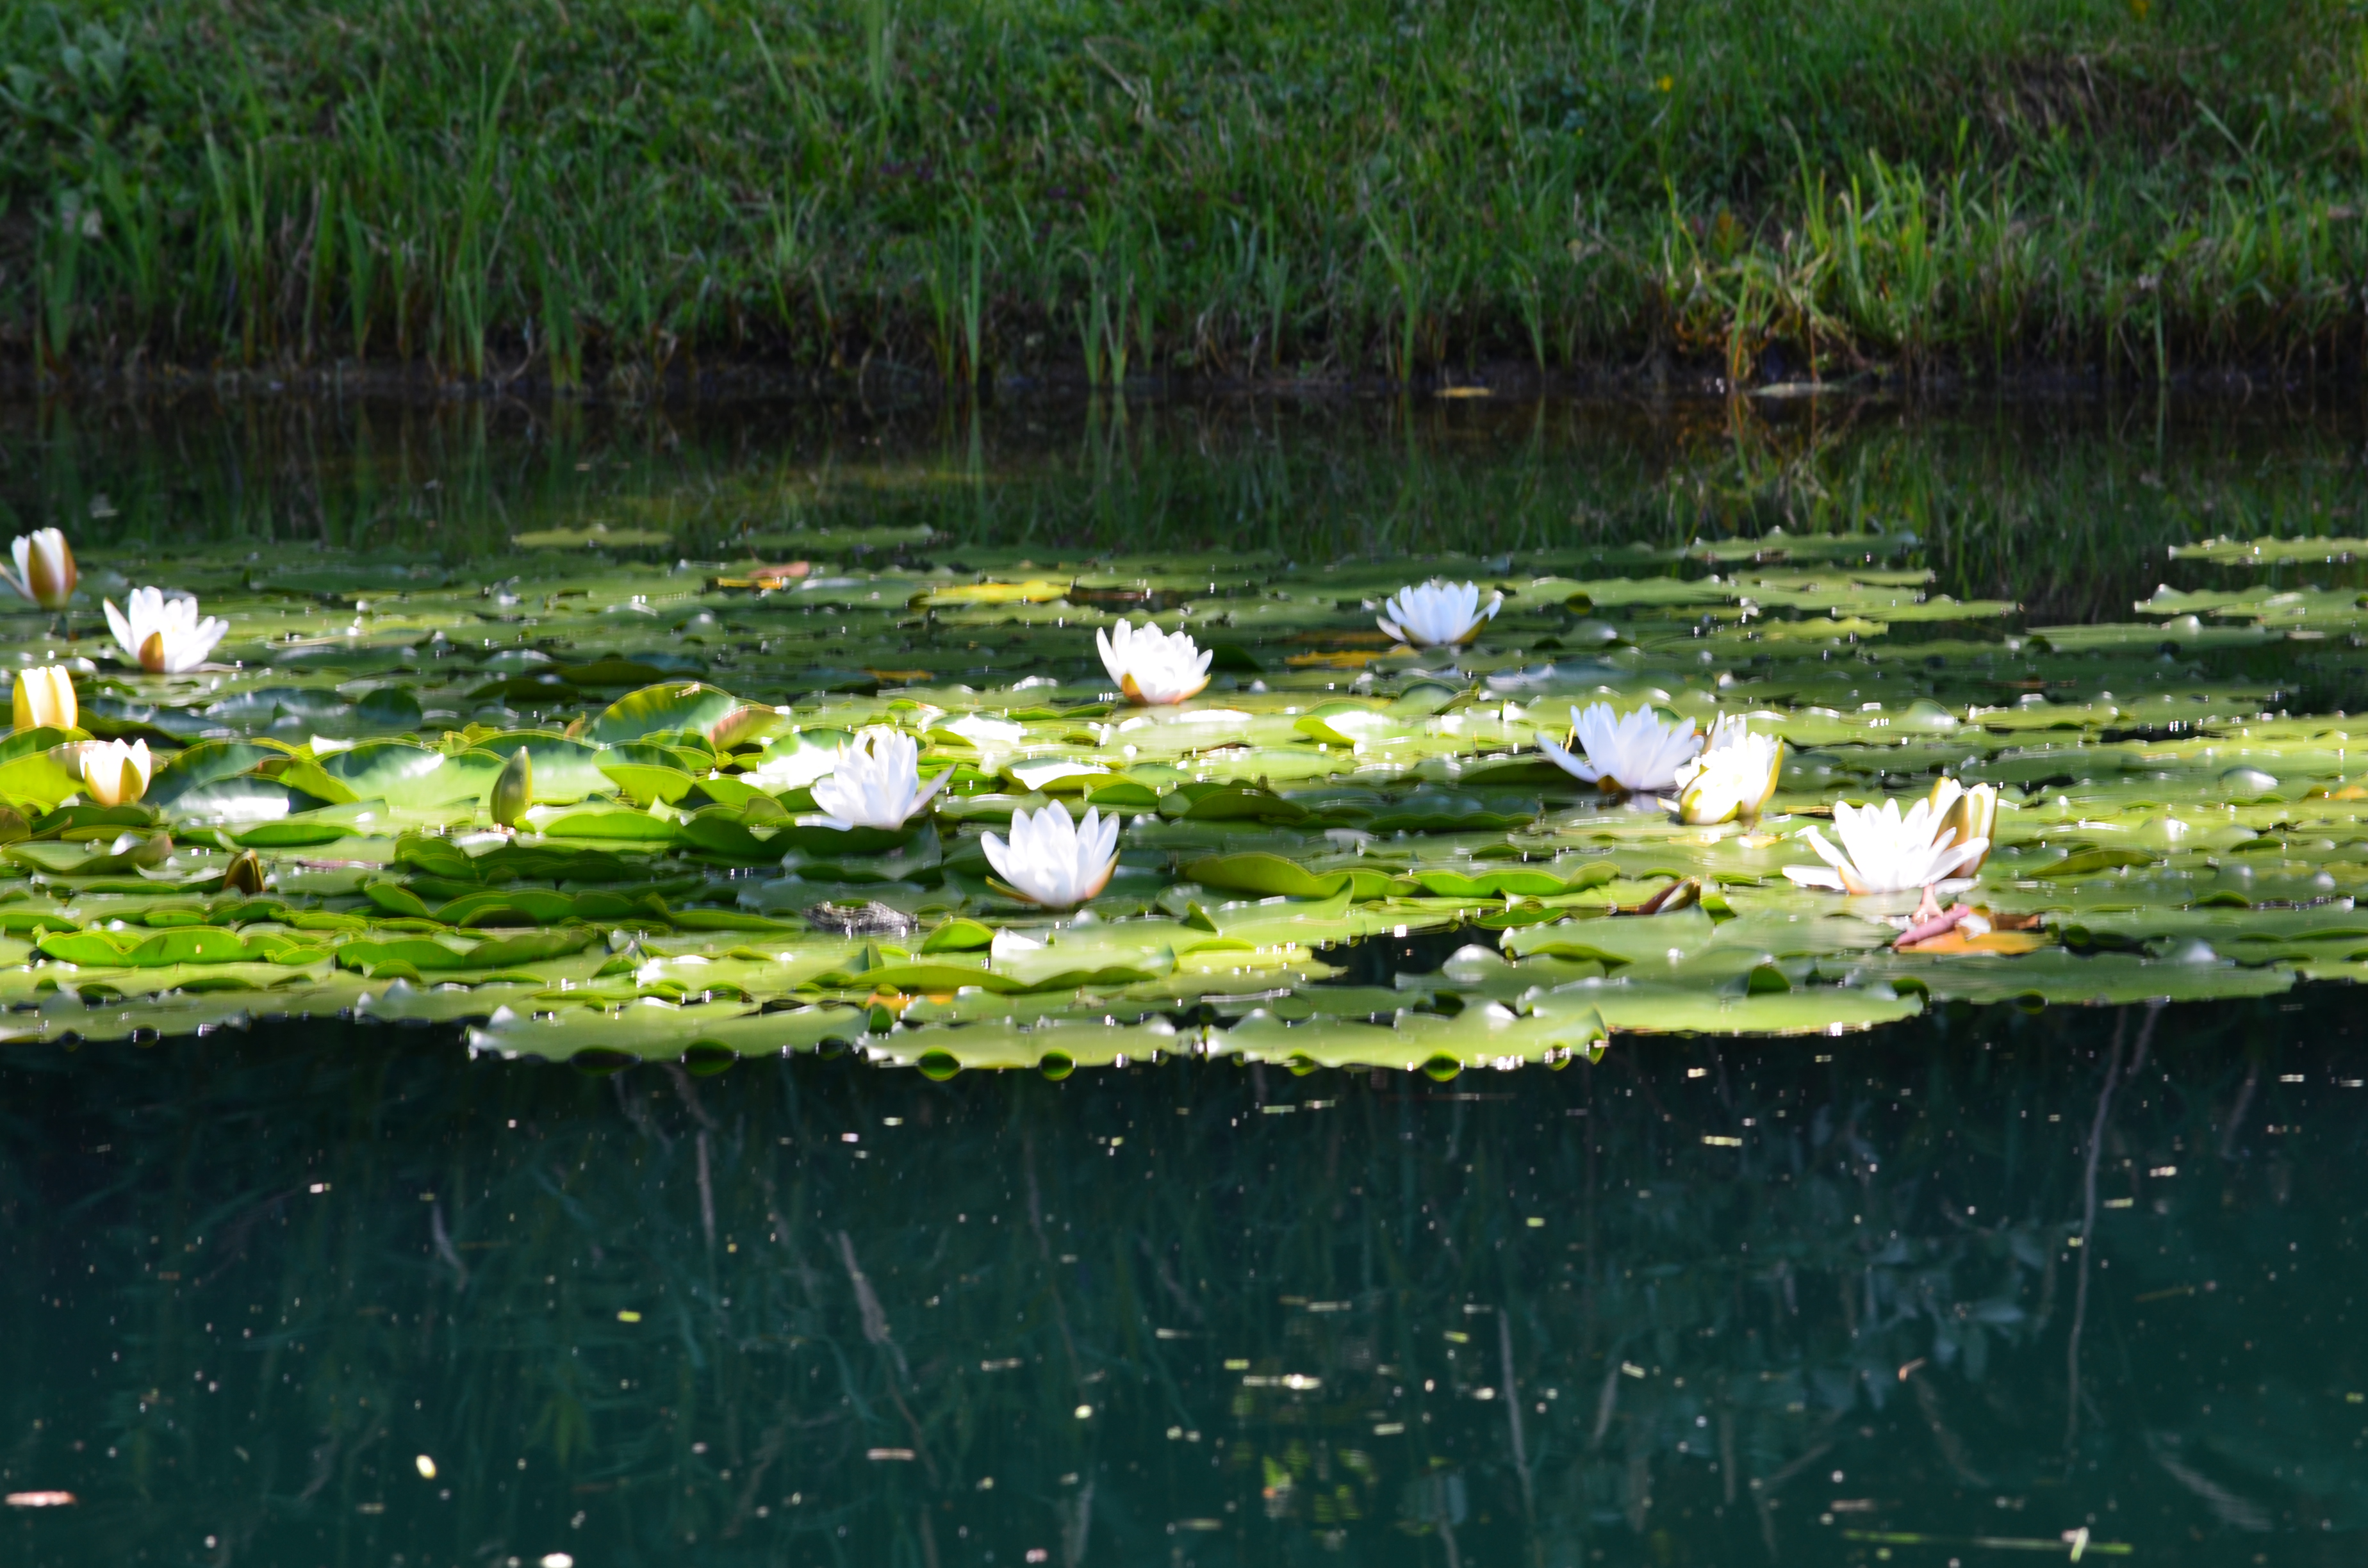
- Being witness, on occasion, to divine splendour, be it a transformative garden or a single bloom
- Learning just how much your ardour for gardening will spur you on while spitting sparks and growing blisters
- Developing new tactics for dealing with and/or avoiding other tourists
Some song lyrics by Billy Currington neatly sum this up:
“God is great, beer is good and people are crazy.”
Google ‘Garden Tour Etiquette’ and a gazillion helpful snippets of information will pop up. You can learn all about how not to where high heels and how you should bring an umbrella, just in case. But if, like me, you approach a tour like you’re going on safari, raring to bag a bunch of fabulous shots while honing your hunter’s knowledge, here are some not-so-genteel garden tour strategies I use that might help make your next tour shots all the better.
Eavesdrop always. When you’ve only got a limited amount of time to check out a garden, keep your eyes and your ears open. I’ve found more hidden jewels in a garden by hearing someone else rave about them first.
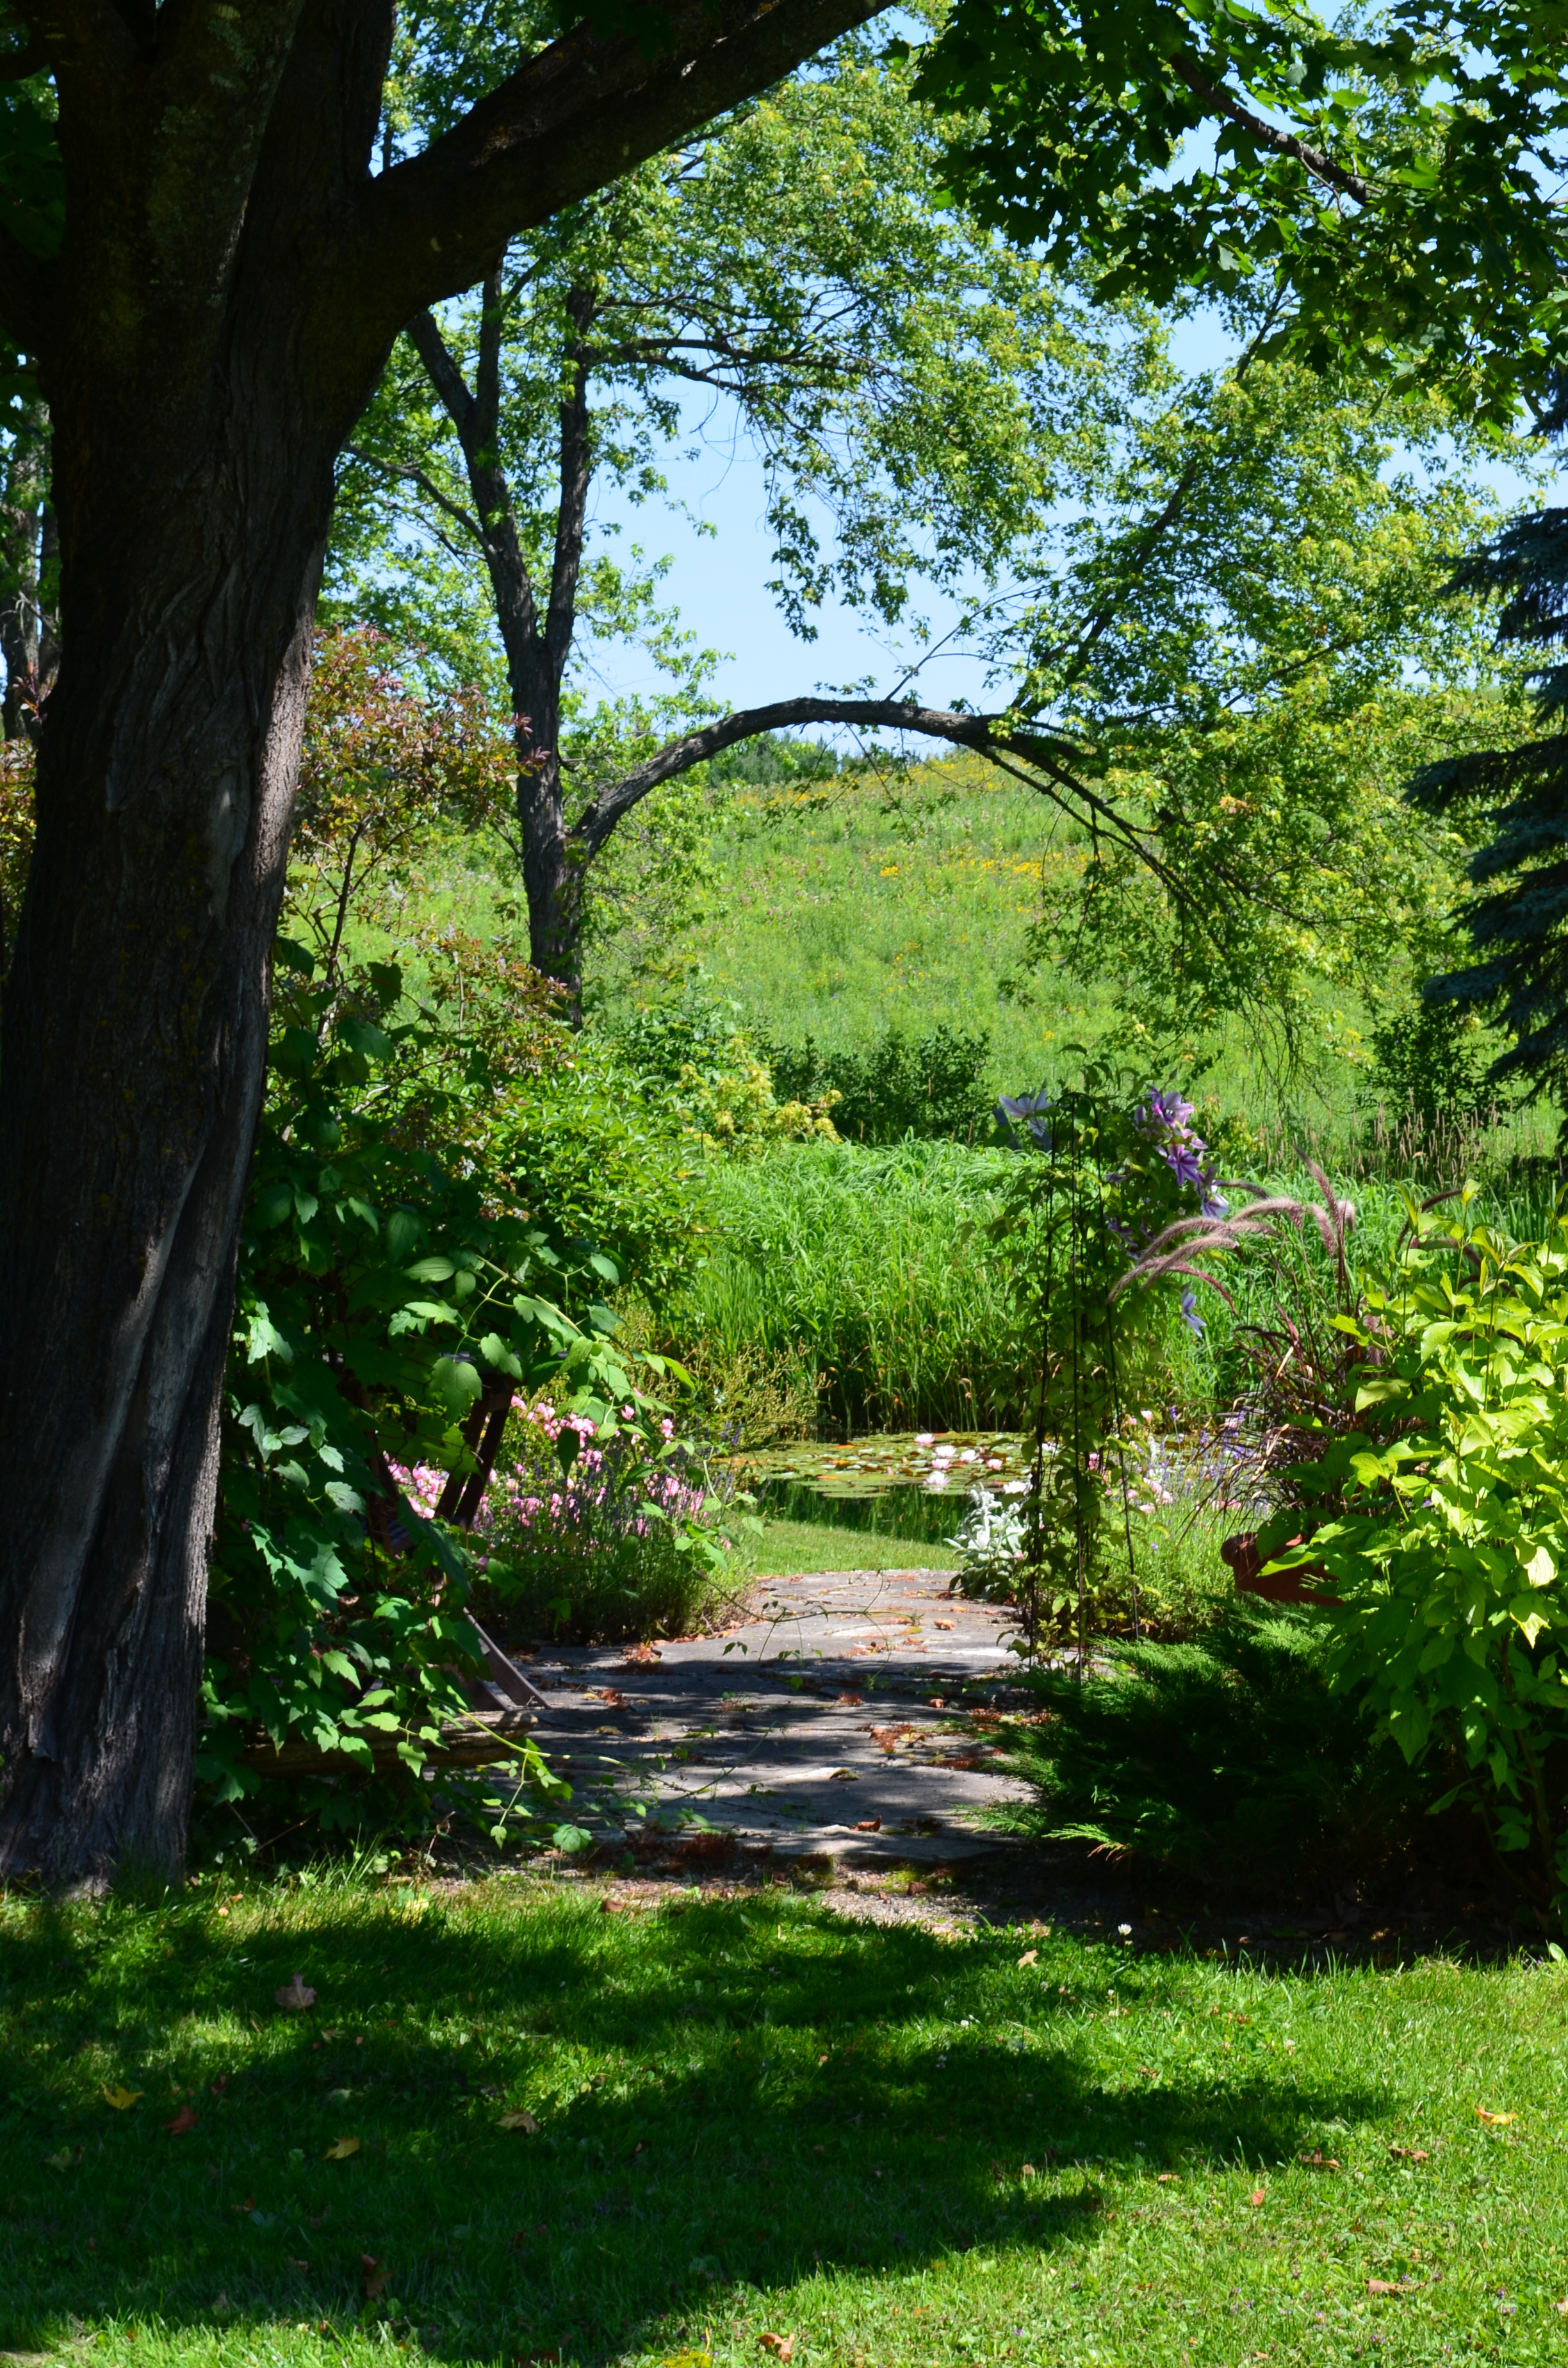
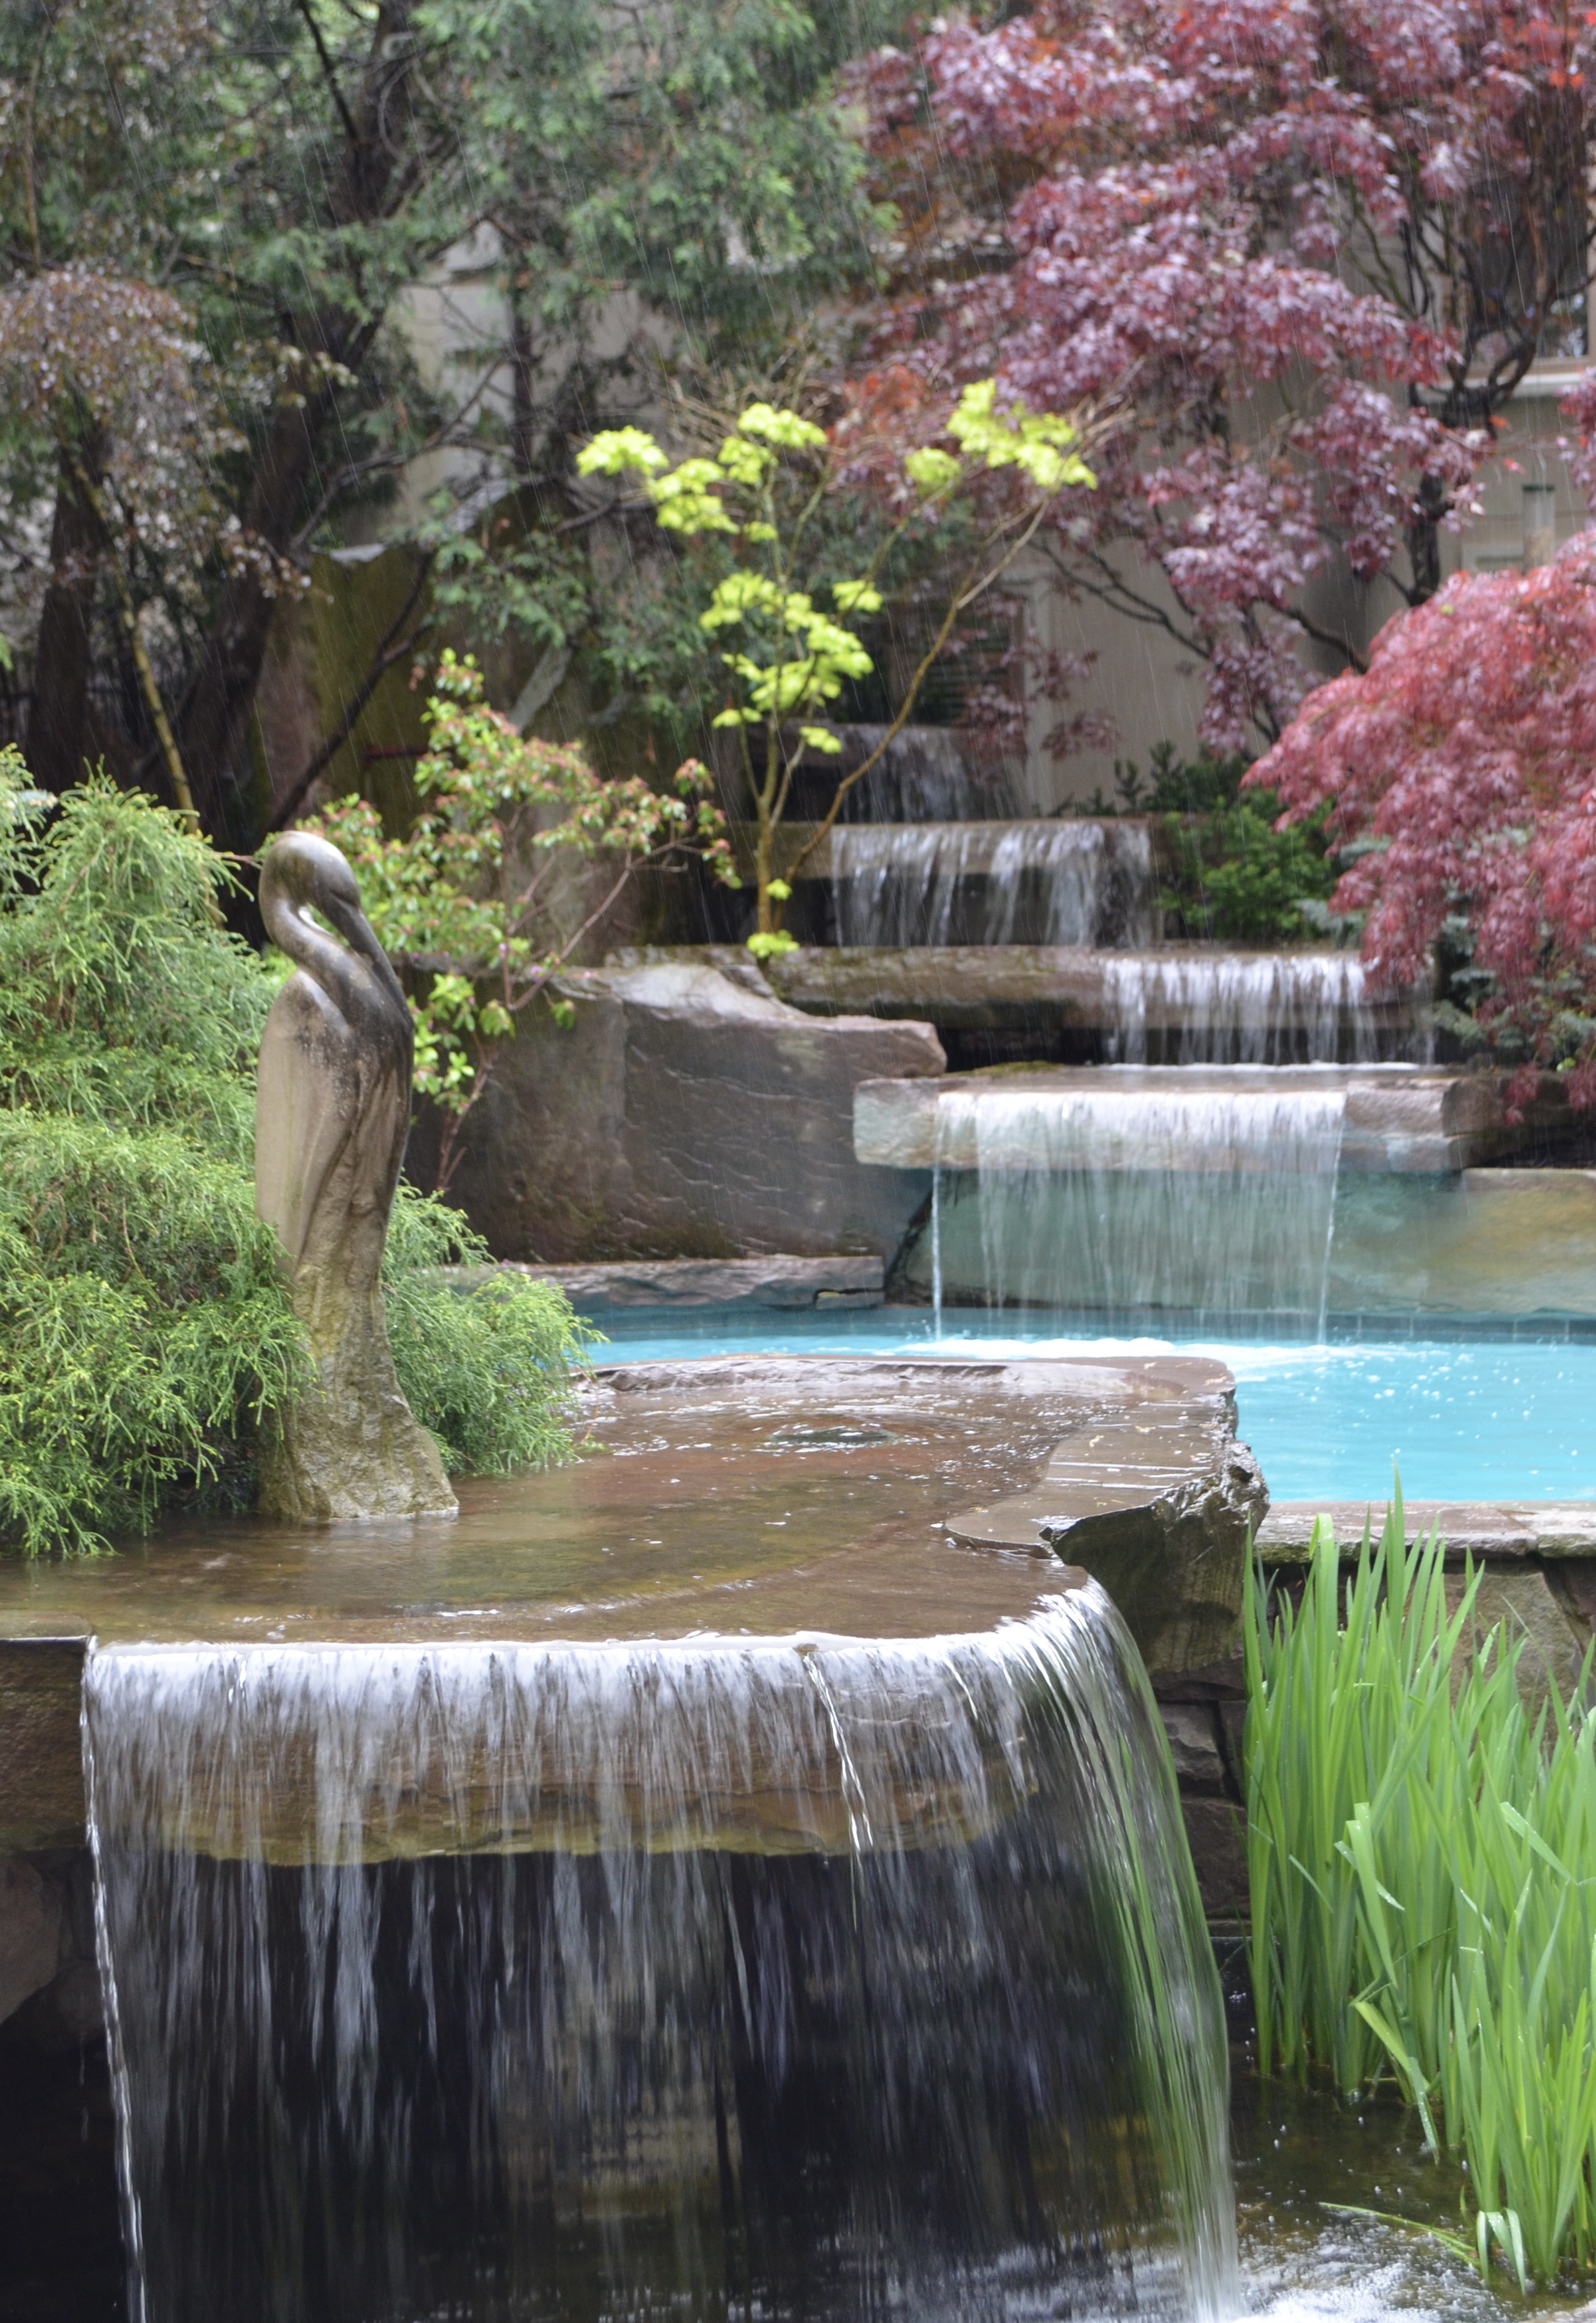
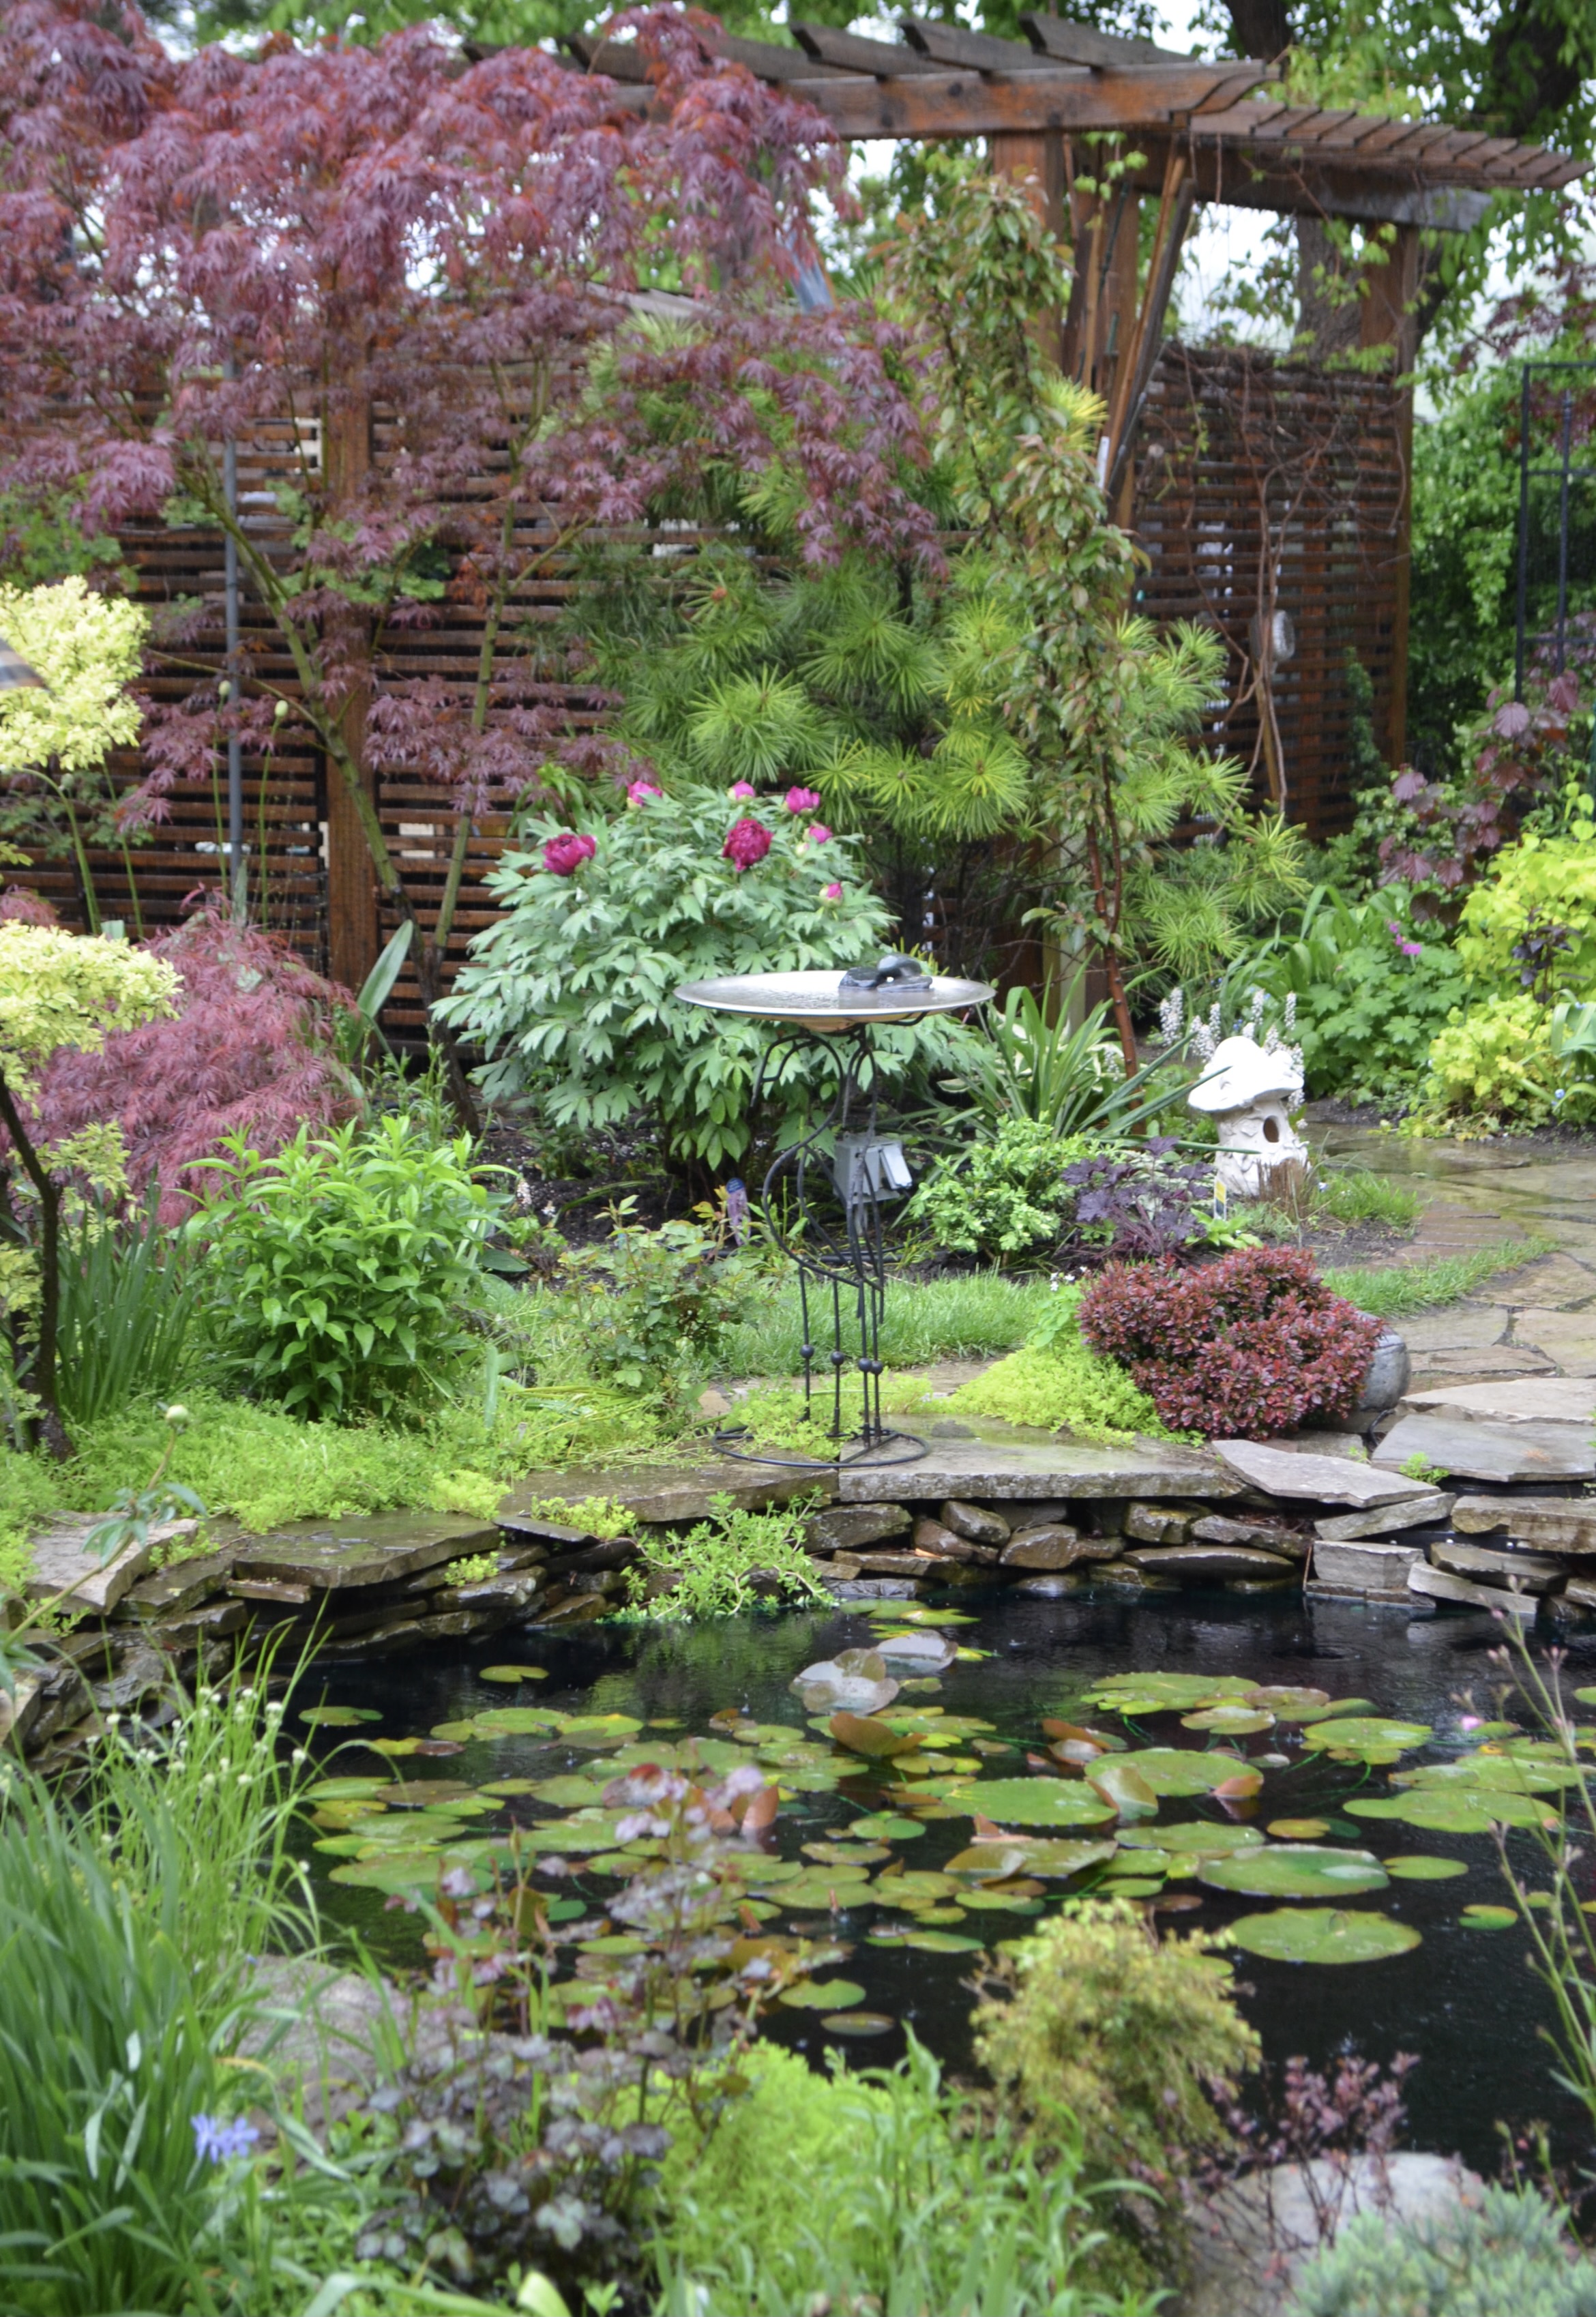
At the risk of looking like a stalker, circle the garden twice. I find that I notice more subtleties after I’ve done one walkthrough to take in all the “Wow!” factors. Look for the way light plays on leaves and water or how shadowed trees and plants can create a dramatic frame around a scene in the background
Once you’ve found something you want to shoot, don’t worry about lots of people getting in the way. Figure out your framing and focus first and then stand in the ideal position to get the shot and wait for the scene to clear. Since you’ve already figured out the what and the how of the shot, the when is easy. Even if there’s a lot of people in a small garden, when you’re prepared you only need a couple of seconds to get that shot when there’s a brief space between bunches of people.
If you’re on a fancy bus tour, always be the last to re-board. Don’t hold everyone up, just always be the last person to get on. I’ve taken a lot of satisfying, tourist-free shots by simply turning around and taking photos while waiting to get back on the bus.
Get the names of plants down along with the image. If you’re shooting exclusively with a cell phone, see if you have the ability to add notes or captions to your photos so you can record plants names and other info right then and there. A faster way of getting information down quickly, however, which works for both cellphone or SLR, is to photograph both plant and information. Shoot the name of the plant, then the plant or vice versa.


Either way, decide beforehand in which order you’re going to take the information and image and then stick with that order for the entire tour. Otherwise, things could get really confusing once you’re scrolling through your camera roll years from now.


If a plant tag isn’t available but a helpful garden attendant has the information, write it down and then take a photo of the note. That way, you always have the name recorded right next to an image of the plant.
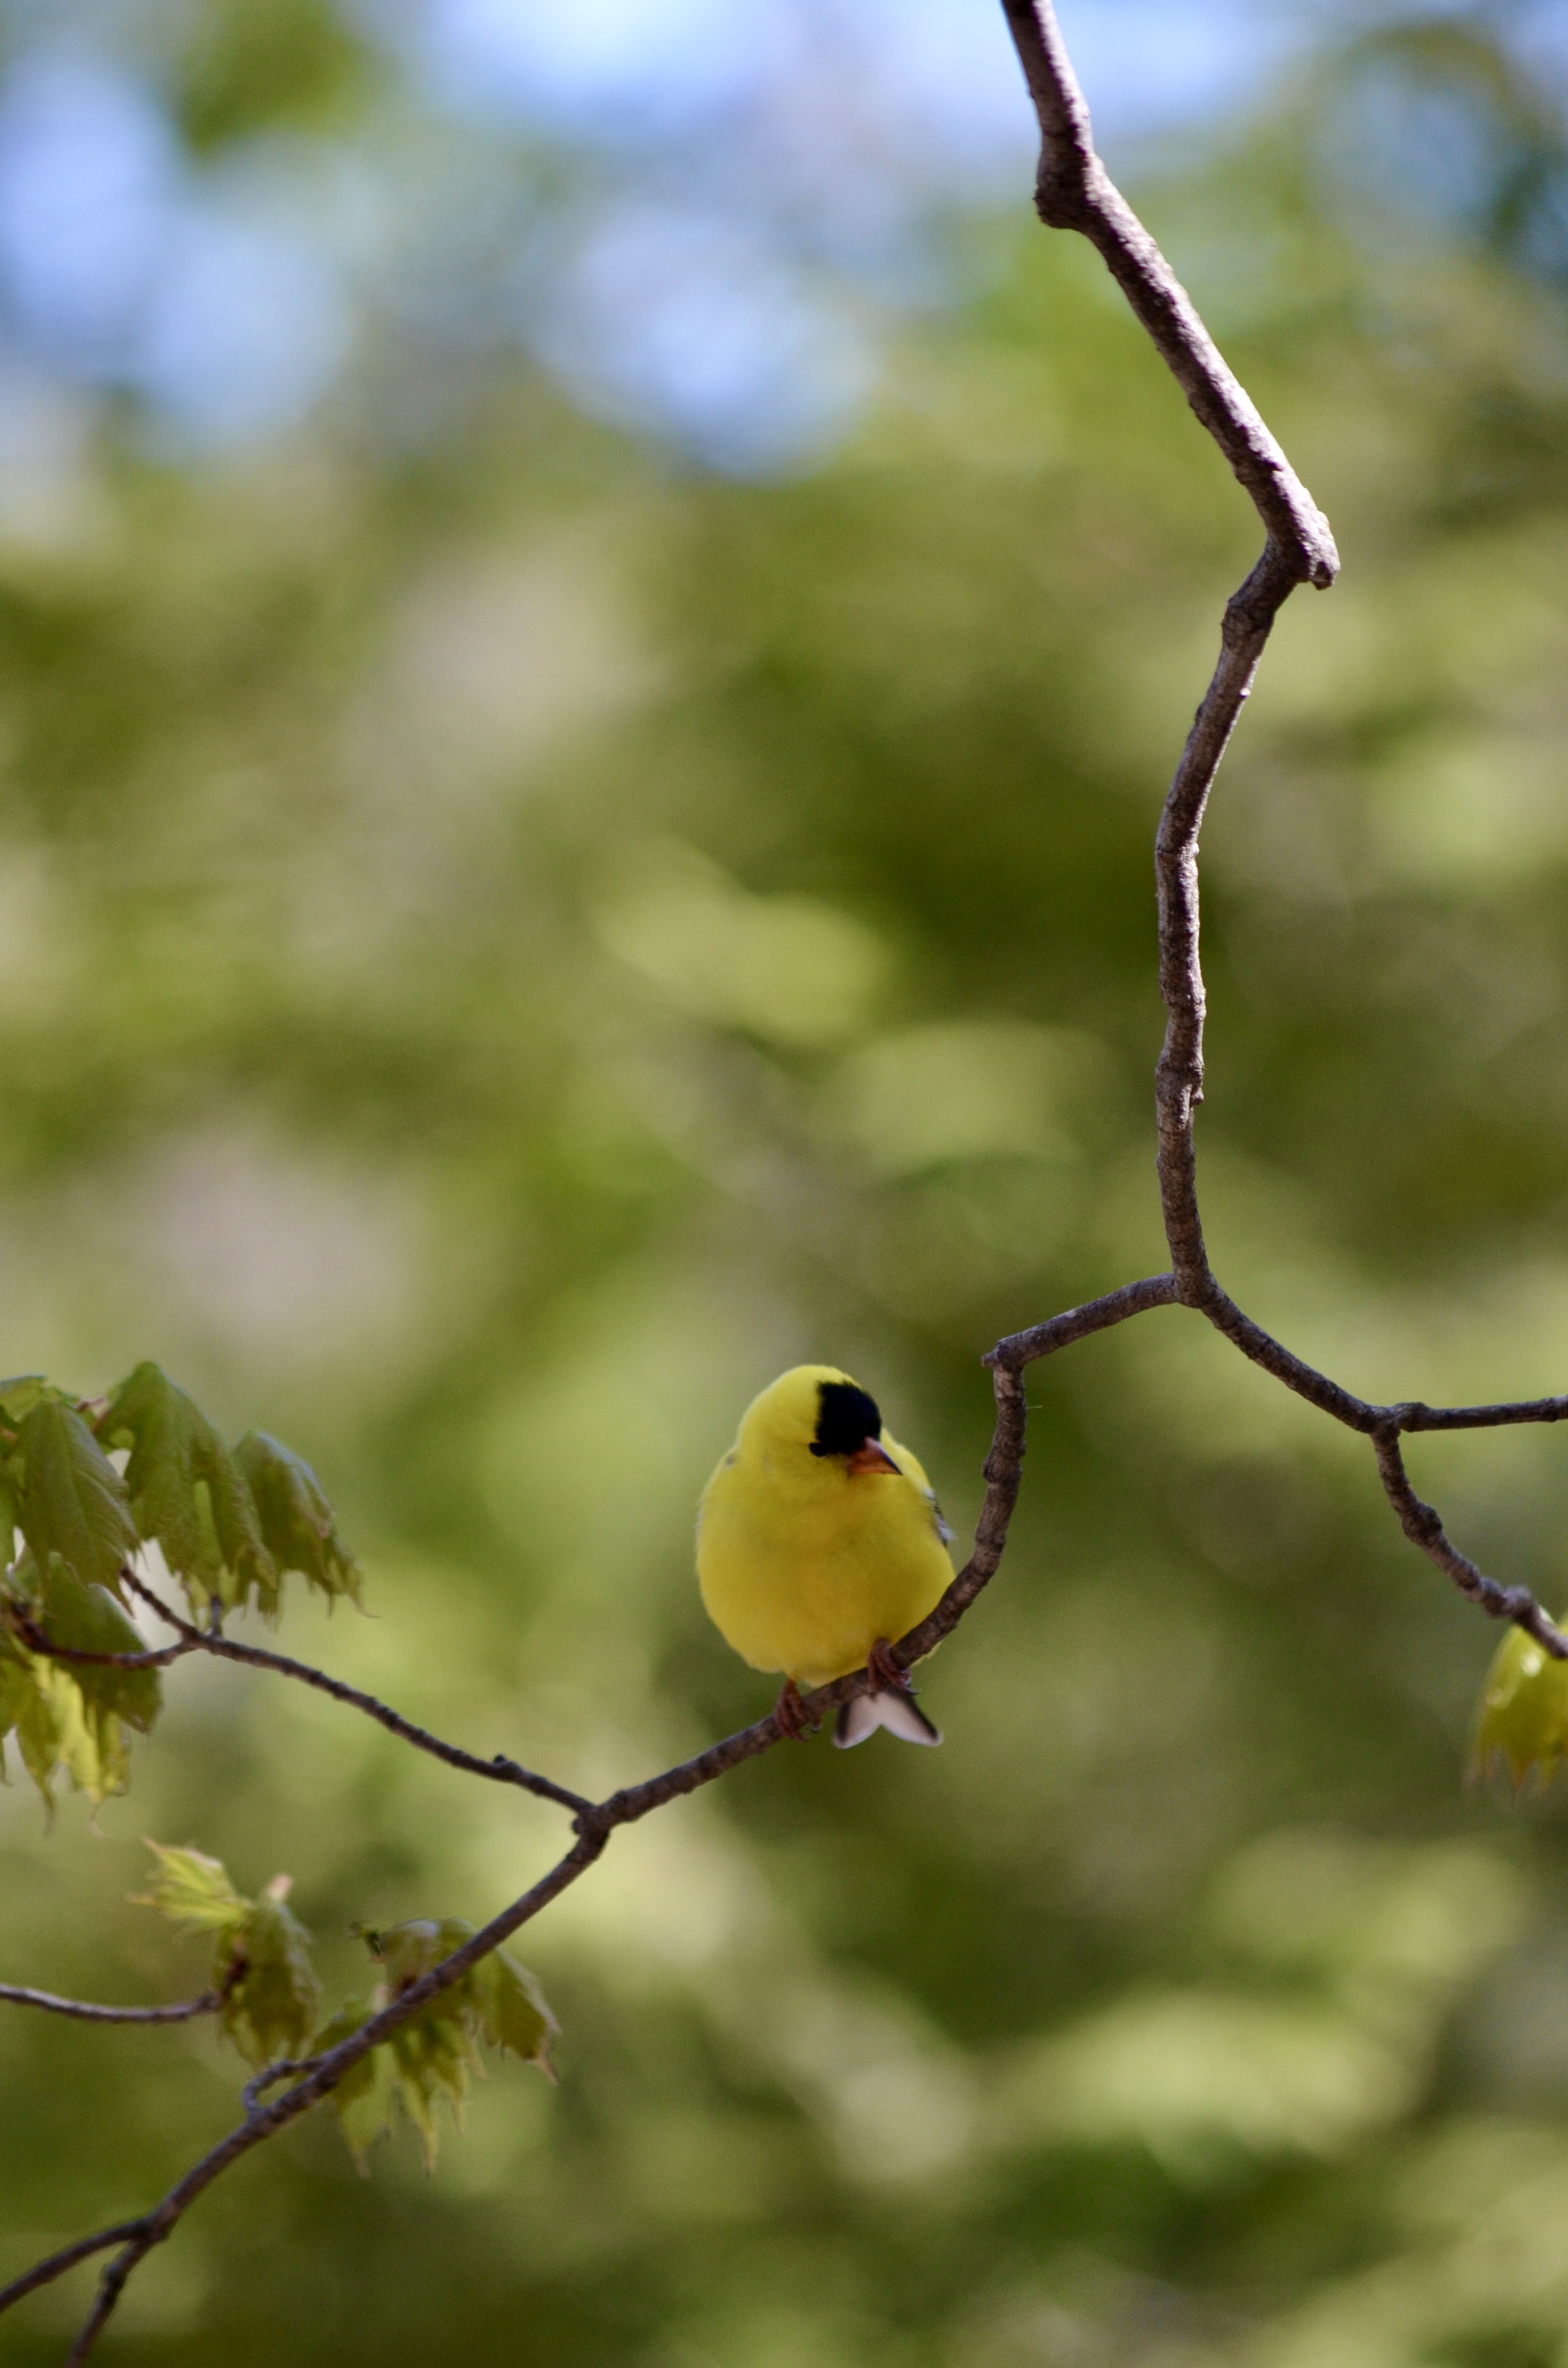
Remember to look up. As garden tourers, we have a tendency to keep our heads down which is reasonable considering most gardens consist of plants firming rooted in the ground. But there is extraordinary beauty in what’s over our heads as well. And don’t be afraid to shoot into the sun or catch the sun’s rays angling into your shot. The results can be wonderful.


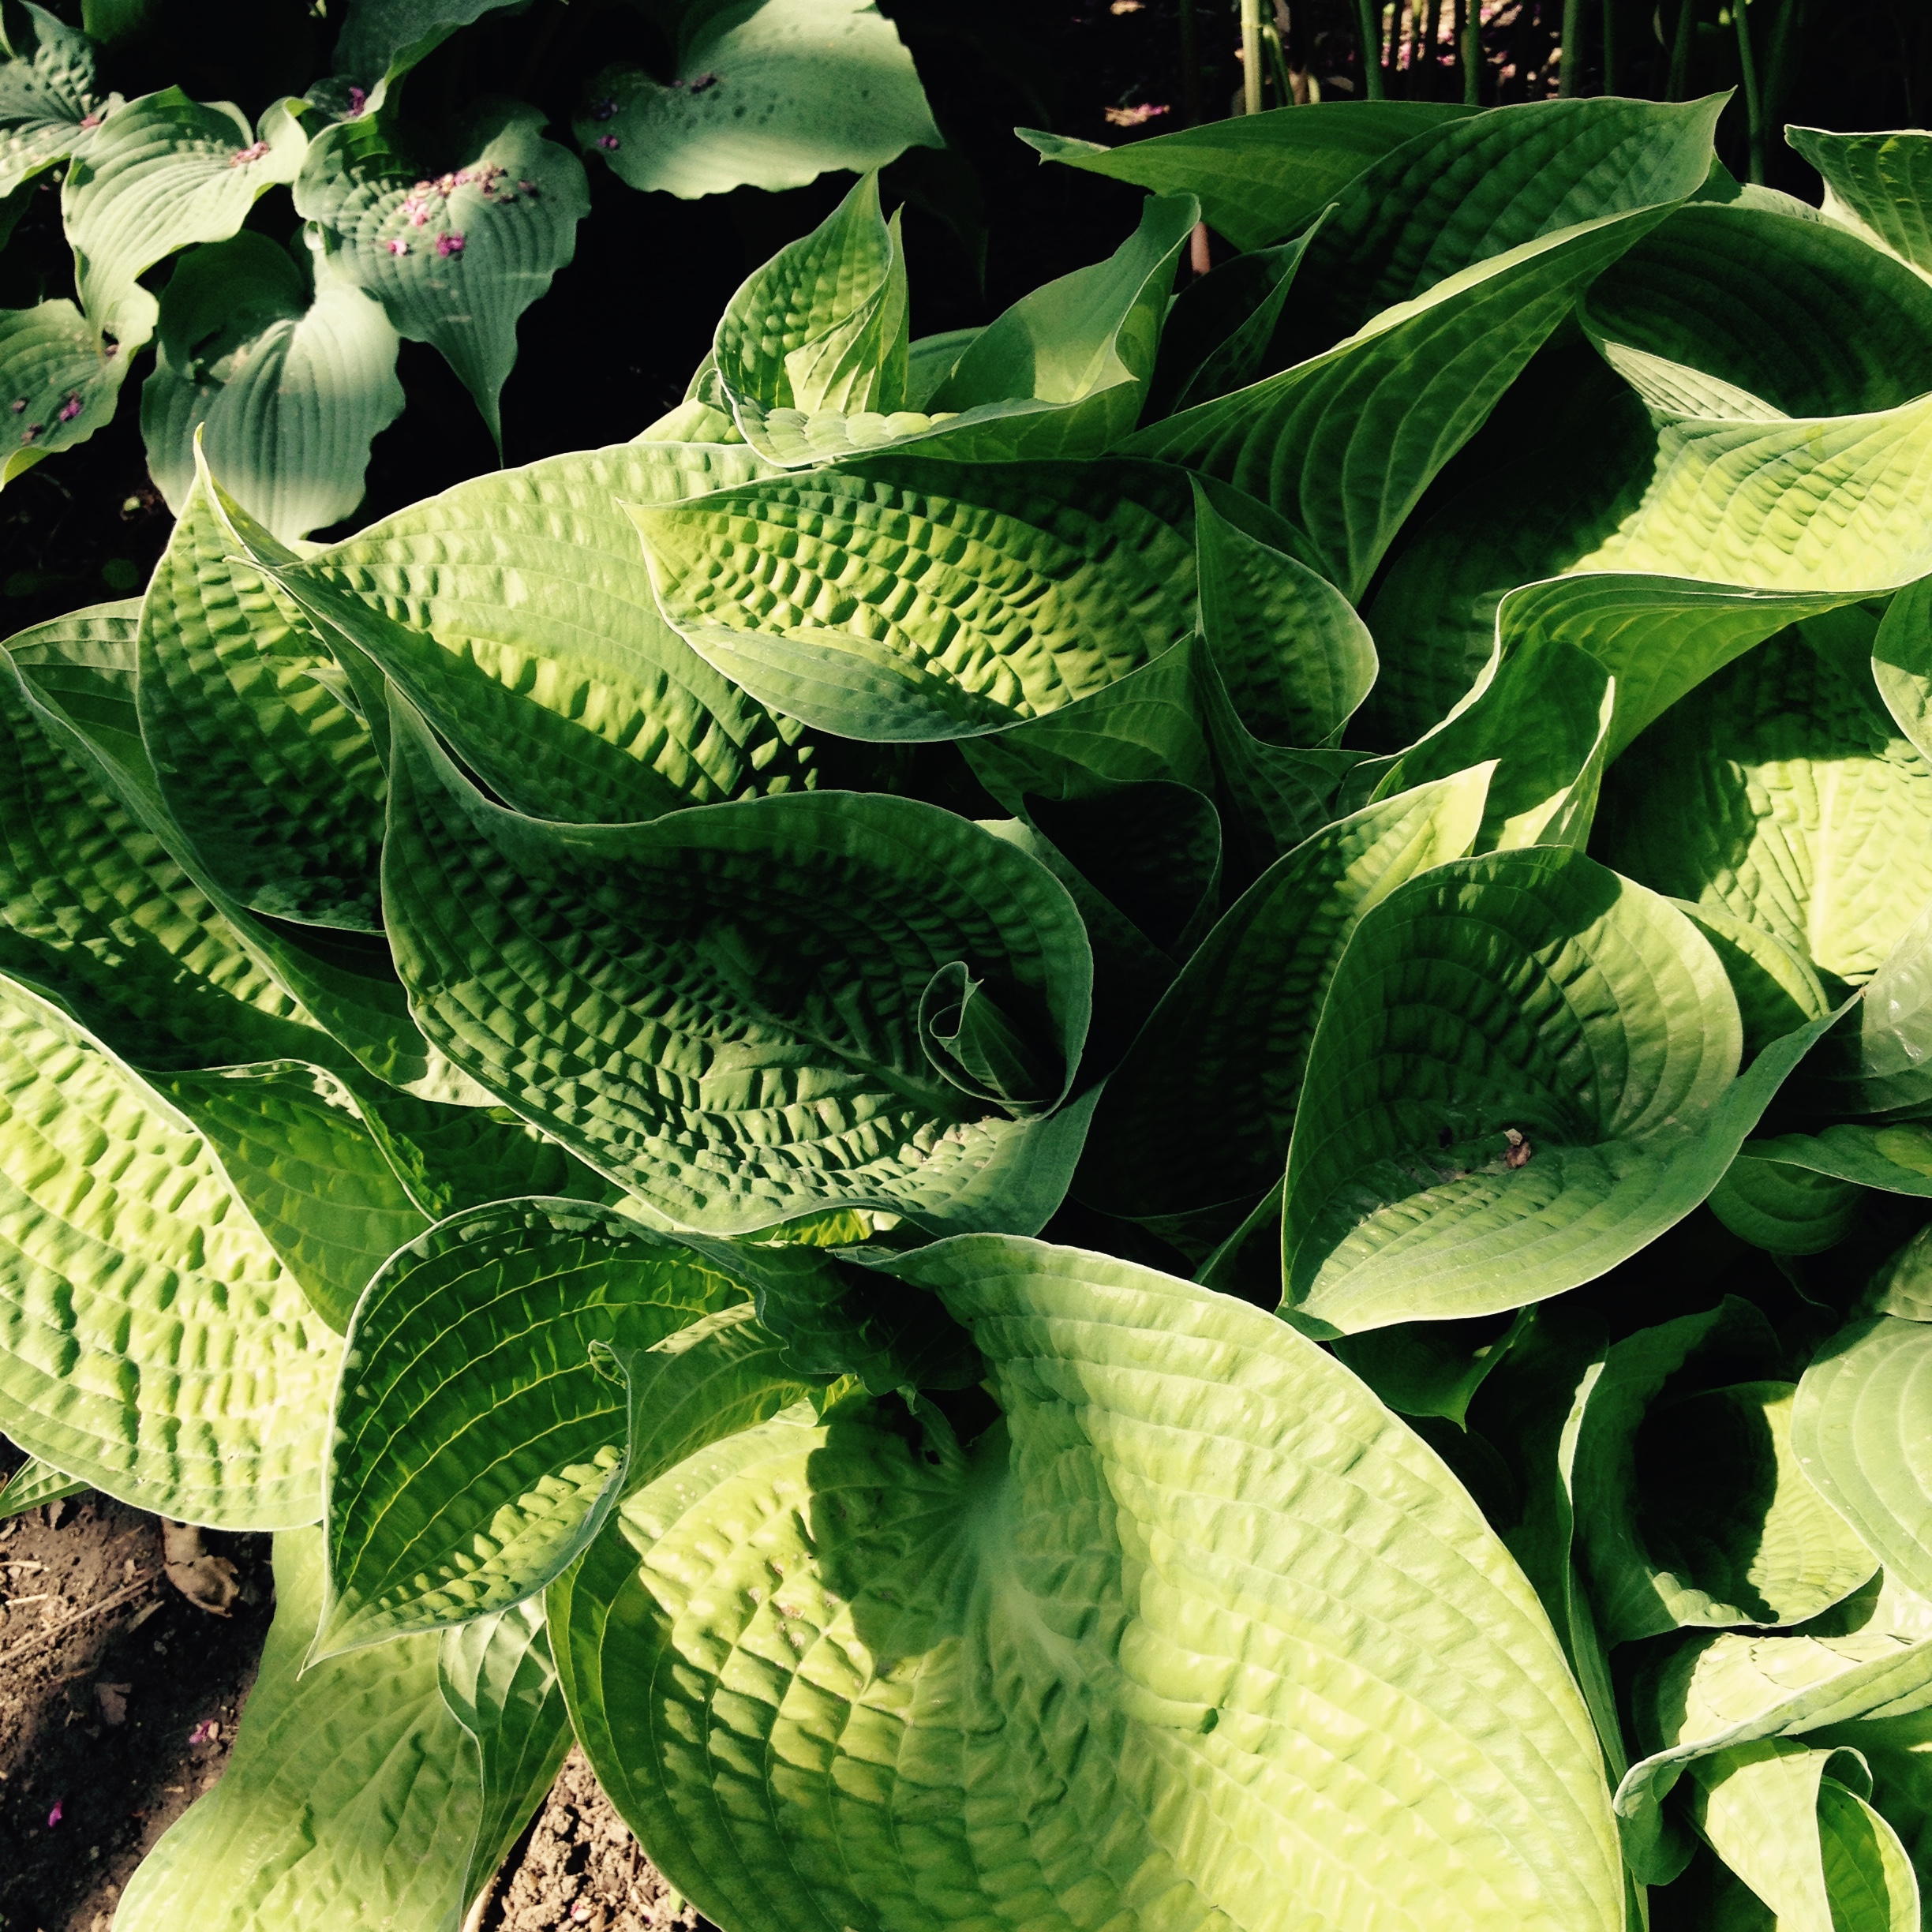
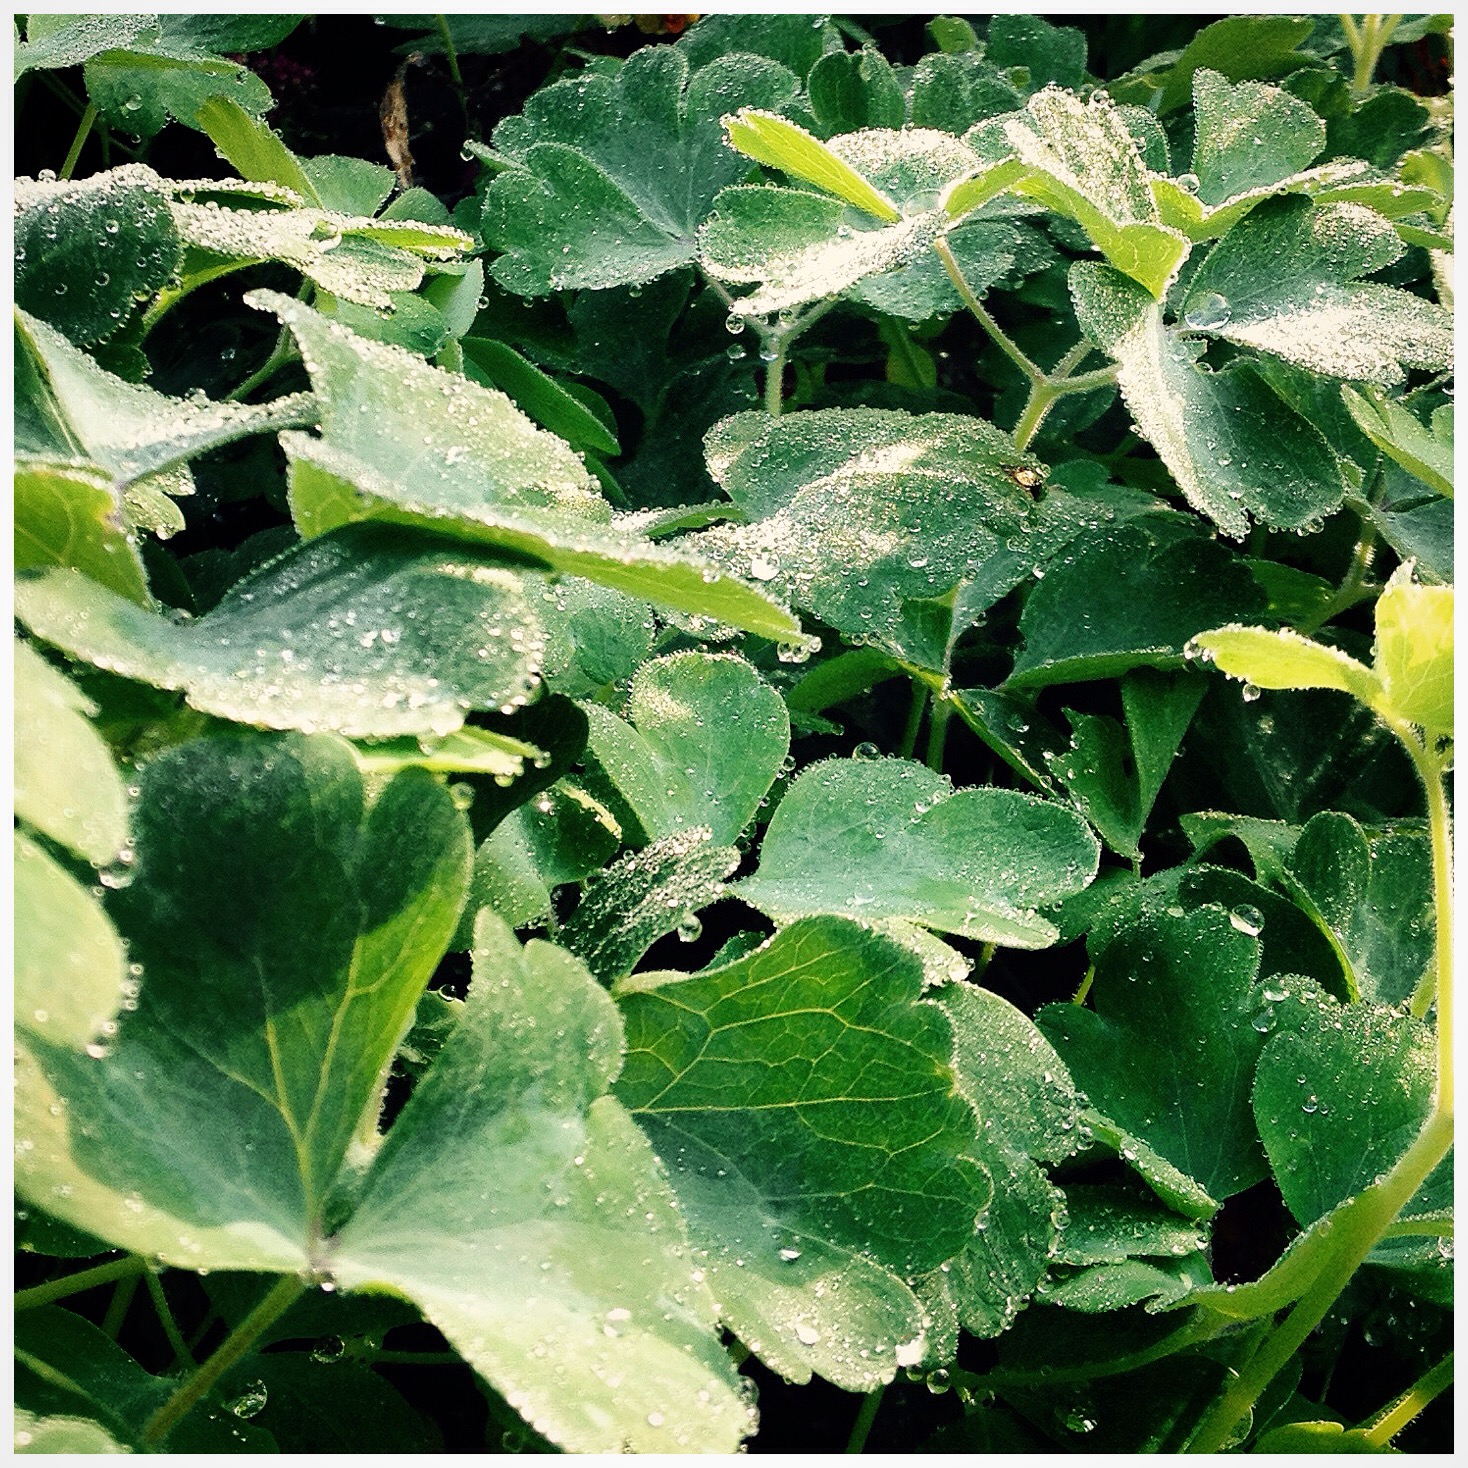
Look down, too. Way down. You can get real close shots of tiny plants close to the ground without having to get down on your hands and knees. Cameras and cellphones can take photos upside down just as well as right side up. So lean down with your camera at arm’s length to get as low as you want to go with your camera and take the shot. You can flip the image right side up later.
Go rain or shine. Rainy days aren’t everyone’s favourite but they can be a photographer’s best opportunity. With cloud cover, you avoid harsh shadows. Colours can be truer on grey days, too. And you won’t have to battle with overly bright highlights on flowers and leaves when the sky is an even blanket of cloud. Besides, there’s nothing prettier than raindrops on plants. Wet leaves on the trees in the background of your shot will glisten, adding extra texture to your photo. Even hard surfaces will look especially appealing when wet. The colours of slate and concrete usually go a bit darker and shapes will stand out more because the flat surfaces will shine while the wet sides tend to go darker.

Happy photographing!


Pingback: ‘Tis the season to snoop | Ministry of the fence