When my brother and I were kids we spent several formative years enjoying a backyard that had no lawn, a veritable forest of unclimbable trees, vast swaths of mulch (known back then as ‘beauty bark’) and an enormous cement patio. We were forever suffering from scrapes, bruises and splinters from this decidedly child-unfriendly garden. But, as far as our parents were concerned, the garden’s stark elegance more than compensated for any potential injuries. The garden’s piece de resistance was a dry creek which pooled, so to speak, into a small, utterly dry pond. I’ve had a thing for dry creeks ever since.

As I’ve explained on occasion to my ever-patient partner who can be mystified over my reasoning in making certain purchasing decisions, there can be a big difference between need and want. This point is particularly important when considering installing a dry creek. If you need to install a dry creek because you’re addressing a drainage issue, you have to keep in mind certain factors such as:
- Where the accumulating water is naturally flowing.
- Where you can drain the excess water.
- How you can drain the water while directing it away from your house and other structures.
- Identifying the slopes that make up the natural lay of the land.
- Whether you can drain excess water into a public sewage system, ditch or the street. You’ll need to check local ordinances.
- Whether you’ll need to install your own system for managing the drained water whether it’s a French drain, pond, or such.
All of the above takes careful consideration and expert advice (meaning don’t take my word for it).
But, here’s the thing. Dry creeks are also wonderful garden design elements. You don’t need to be actually draining water in order to have one. So if you want your very own dry creek just because you love the look of them, here are some inspirations to make it yours.
Play with proportion
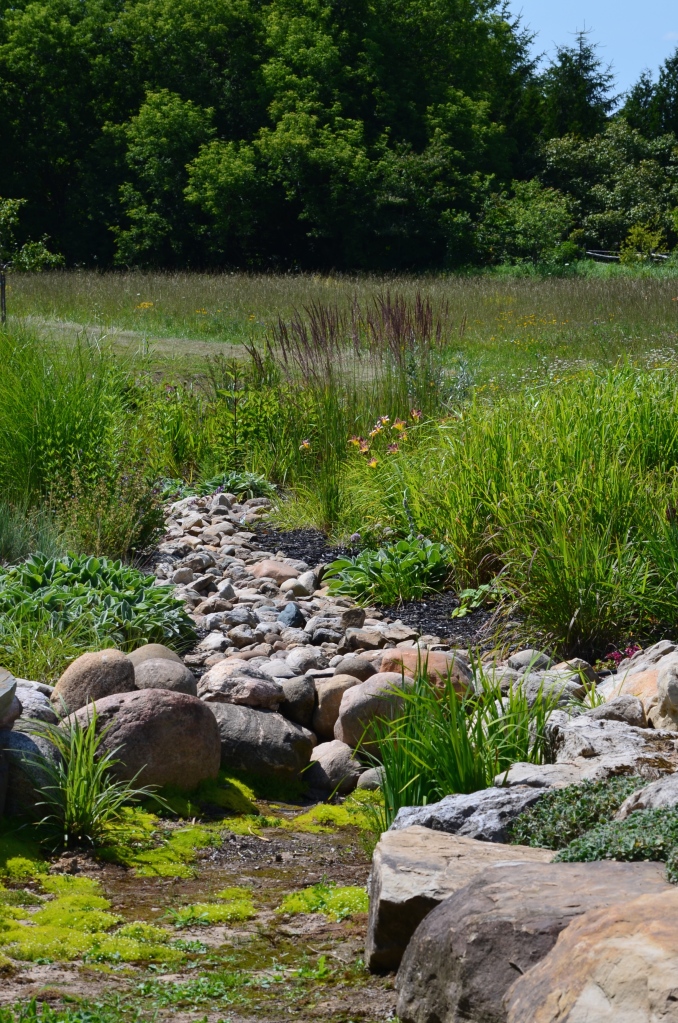
I love how the dry creek in the photo above uses different sizes of stone to accentuate its length. Very large stones were placed at the head of the creek (from our viewpoint) and stones were placed in decreasing sizes down the length of the creek. The overall effect is one of spanning a greater distance than what’s actually there.
Plant to play up creek-ness

This dry creek in suburban Toronto actually runs down to a real creek.
Your dry creek is just that – yours. So you get to choose the look/style/feel of it regardless of whether or not it reflects the actual environment. You could, for instance, go for an oasis in the desert sort of feel. Or perhaps a charming creek in an English Country Garden feel. The plants you choose to edge your dry creek will work wonders in getting your chosen mood across. Here are some ideas:
FOR A GURGLING BROOK IN A WOODLAND FEEL: Try hostas, ornamental grasses, ferns, dwarf shrubs and any small trees or shrubs with a weeping habit.
FOR AN ENGLISH COUNTRY GARDEN FEEL: Try hellebores, ferns and lots of flowering annuals in great swaths, including oodles of Pulmonaria.
FOR AN OASIS IN THE DESERT FEEL: Try ornamental grasses, tree ferns and palms. Sink low containers into the middle of your dry creek and plant up Papyrus Plants or cannas.
Have fun with your stone selection
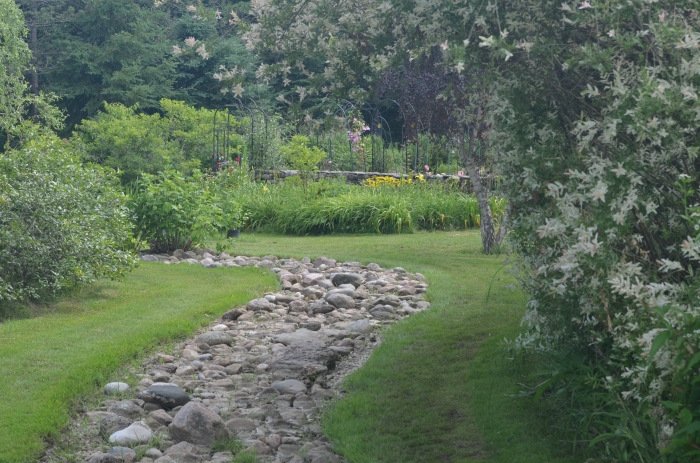
A dry creek in a very large country garden outside of Toronto. Several dry creeks lead the eye and link a series of gardens within one very extensive garden.
The dry creek shown above uses a lot of very large rocks to create great ribbons of texture. I don’t think this installation would be nearly as successful if the creek was filled with smaller stones such as gravel. In fact, it would probably be mistaken for a pathway.
The dry creek shown directly below (another view of the creek in the photo at the very top of this post) also uses a variety of stones and boulders to entertain the eye.

Forget the creek and go pond

The owners of the garden shown immediately above and below had a natural dip at the rear of their backyard so they took advantage of it to create a dry pond. Small wooden boat-like garden sculptures underline the watery idea along with weeping shrubs and grasses.

A closer look at the dry pond.
Why stop at just one creek
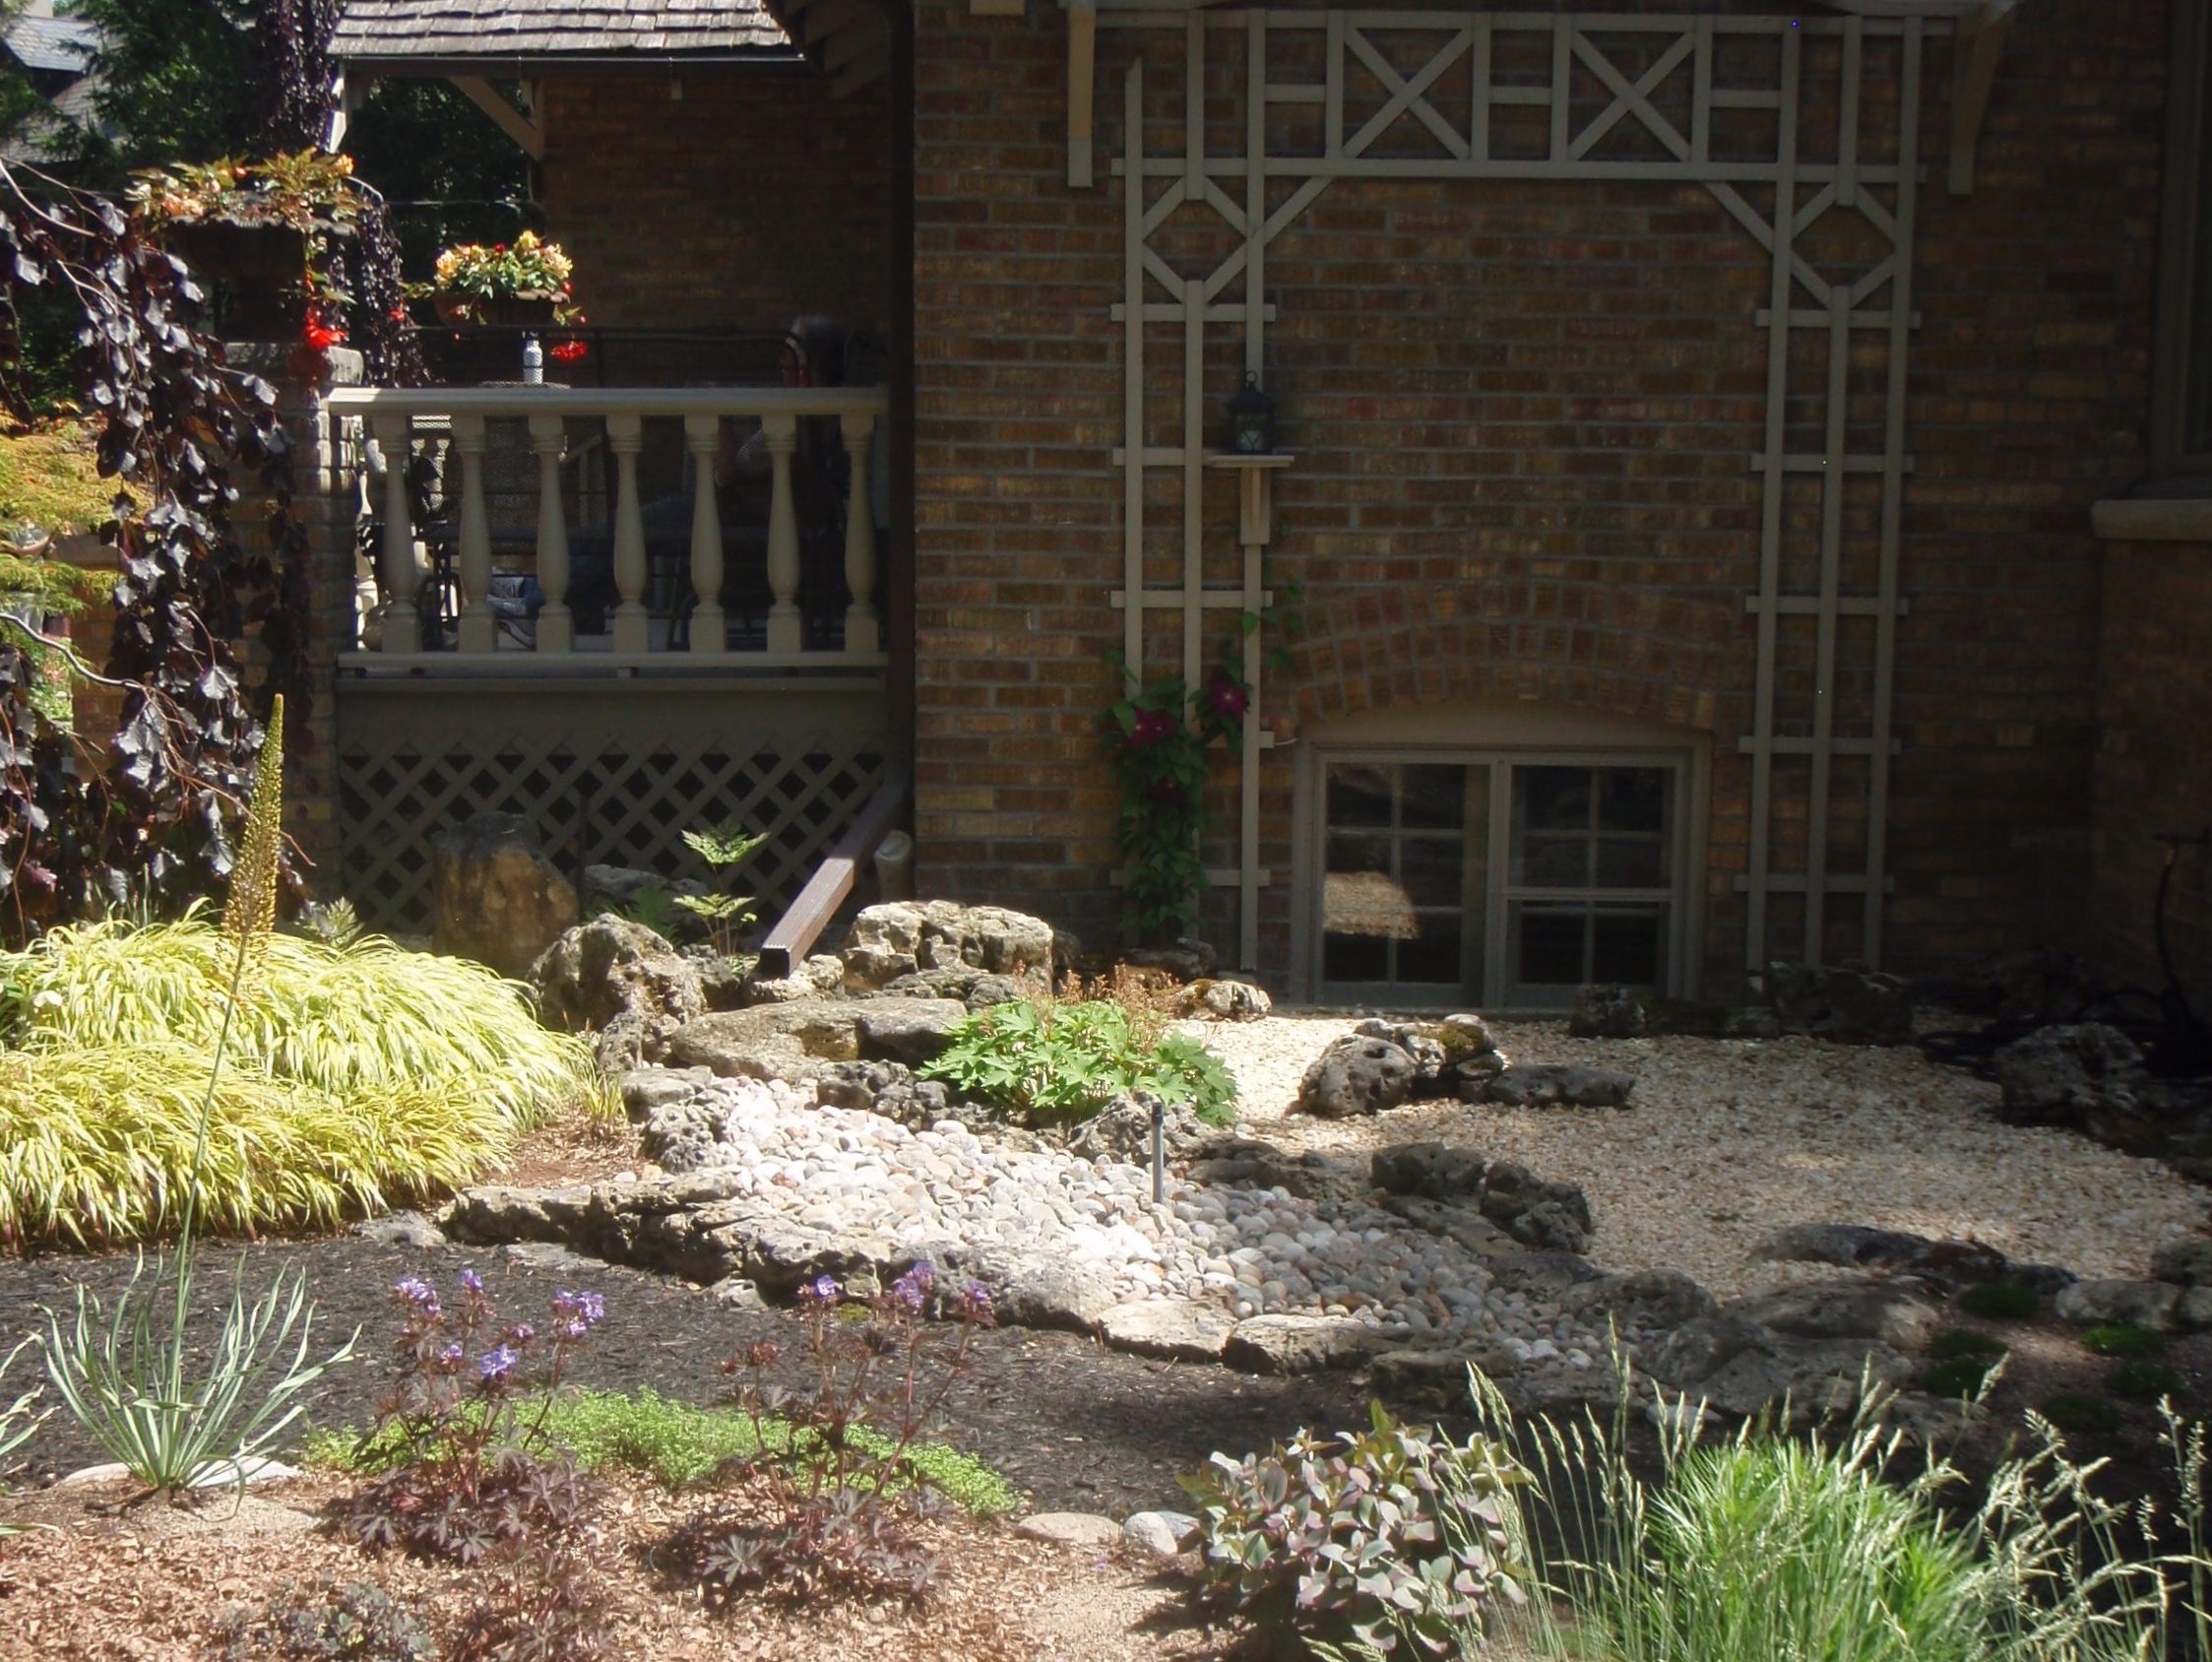
The garden shown above and below was included in a tour hosted by the Toronto Botanical Gardens and was hailed as a stellar example of xeriscaping. You can see in the photo directly below that two dry creeks were installed to direct rainwater from two drain spouts. These are actually real working dry creeks because they actually deal with real water on occasion but you can still be inspired by their designs which highlight texture and – surprise – colour. The creek at the top of the photo is filled with white pebbles. The creek seen at the bottom of the photo are blue river rocks that have been set on edge for a lovely watery texture.

Another view of the two creeks with a view of the lower creek of blue river rocks.
Speaking of adding colour to your dry creek, bright blue glass is another material you could consider if you want a real eye-catching look. I don’t have a photo to show you, unfortunately, but just Google Blue Glass Dry Creeks for tons of inspo.
Try other materials as well

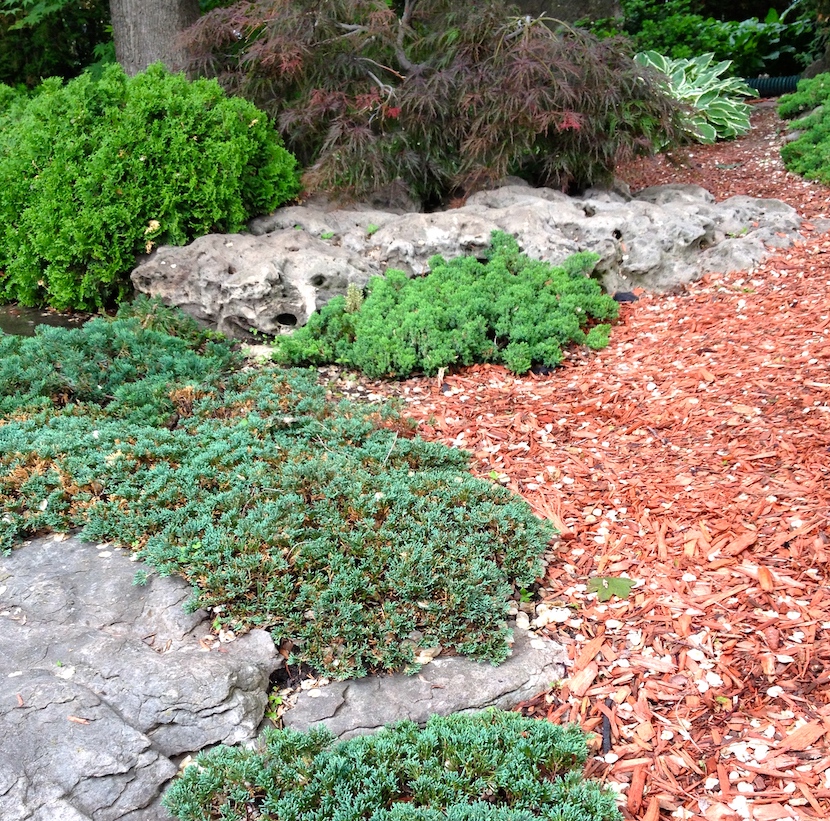
This tiny urban front garden in downtown Toronto features a dry creek of red mulch.
If blue glass pieces – or even stones or river rocks for that matter – are too pricey, you can always get a dry creek look using other materials. I love the contrast of this dry creek made of red bark mulch, shown above. The bright creek leads the eye along plants and a (real) water feature towards the side of the house hinting that there’s more to see just beyond the corner. There isn’t. And that’s what makes a dry creek so divine. It’s all about what you want.


Pingback: Transporting the garden | Ministry of the fence